Showing posts with label Tutorial. Show all posts

Friday, May 17, 2013

Bright Blossoms class tomorrow!

Saturday May 18, 2013 
Bright Blossom class
4 cards and a cute box to hold them (plus envelopes)
$20.00
We're also previewing the Catalog!

Come and Make a card from the new products in the NEW Catalog!!!
(see tomorrow's post for the card - just a peek)...!!!

Thank you for visiting my blog! All stamps, paper and inks used are © Stampin' Up!®
For more Stampin' Up!® information, go to www.stampinup.com
Order on my Website --> www.dianneshiozaki.stampinup.net
Join My Team! password: faithfulstamper

Tuesday, April 2, 2013

Flip top box Tutorial

Andrea Walford shared this project on her blog and on facebook, and I love the tutorial!
So I decided to put a link to it as well. I think this is a really cool box (like the old cigarette boxes with a flip top).  I think it would make a great card holder for a gift! 


Thank you for visiting my blog! All stamps, paper and inks used are © Stampin' Up!®
For more Stampin' Up!® information, go to www.stampinup.com
Order on my Website --> www.dianneshiozaki.stampinup.net
Join My Team! password: faithfulstamper

Thursday, February 2, 2012

Happy...whatever..!

Today, I got in an order that I placed at the beginning of Sale A Bration, and although I waited a couple of days to finalize it, it did arrive on my porch ...!!! I was excited to open and start playing. I didn't go to CHA (last day) because really, I was exhausted!  It was a fun filled weekend, but I need to get other things done...like my own stamping!  So, I stamped the typewrite on vanilla cardstock in Early Espresso.

KEEP the backing that comes off the clear stamps, and use this as a mask.  Cover your stamped image with the backing piece.

 Sponge over the masked area with Early Espresso, and then Soft Suede.  I used an outward stroke from the masked area out to the edges of the cardstock.
Lifting up the mask and then rubbing around the edges, this is what you have!

It leaves a clean shadow around the stamped image!  (cool, right?)
Distress the edges and crumple up your cardstock. Yes, I know we all love crisp paper, but this is really doing the distress ..and it relieves stress!  So, crumple away!  I also rolled the corners and then tore it a little too!

Using Marina Mist, I cut using the new Labels Collection Framelits Dies, and then Texturized it. I also sponged around the edges and around the bumps from the texture folder.

The card needed something else so I stamped the lace onto the Kraft (crumb cake) cardstock, and then sponged and crumpled it again...ooh this is fun!

Adding all the elements and twine plus some punched flowers and color matching brads....I have a simple textured card that can be a generic birthday card...!!!  I know it has some lace on it, but I think a guy wouldn't mind it, do you??

Happy GROUND HOG DAY...!!! Is he going to see his shadow???

Thank you for visiting my blog! All stamps, paper and inks used are © Stampin' Up!®
For more Stampin' Up!® information, go to www.stampinup.com
Order on my Website --> www.dianneshiozaki.stampinup.net
Join My Team! password: faithfulstamper

Wednesday, September 14, 2011

2-4-6-8 box


a 2-4-6-8 box is so easy to make because those are your EXACT scoring lines to create this box!

I used a 12 x 8 1/2" sheet of cardstock.

Score at 2-4-6-8 and you are left with a 1/2 section at the end


score at the bottom 2" for the base of the box


Cut these sections apart to the 2" score line. Be sure to cut off the 1/2 flap only in that same section. If you notice, I cut small triangles at the score line to reduce the bulk at the edges


Score 1/2" line at the top for the top closure


VOILA!


Today, I'm leaving to take my daughter back to college...snif snif...I hate FALL!!!! (just kidding)


Thank you for visiting my blog!All stamps, paper and inks used are © Stampin' Up!®
For more Stampin' Up!® information, go to http://www.stampinup.com/ Order on my Website --> http://www.dianneshiozaki.stampinup.net/ Join My Team! password: faithfulstamper

Sunday, July 24, 2011

Making your Wood Mounts into...Clear Mount Stamps


I am starting to LOVE my clear mount stamps..well, I have to say, I was a die hard wood mount lover...


sigh...it is hard to say, that I am straying from my love, but it does take up less space to get rid of the wood....So, I am giving up wood mounted stamps!


Of course, I can't totally give them up yet. I have to see what do to about the vinyl part of the mount, but I think I can find some clear vinyl that I can print on, then, I can figure out how to mount that on the tacky side.


To make your wood mount stamp into a Clear Mount stamp:


Pull apart the rubber from the foam that it comes with.


After you get it separated, throw away (if you find another use for it, let me know!)


Place the rubber on the STICKY side of the foam mount. The other side will be smooth/sticky. (your fingers won't stick to it)


Trim the sticky part of the foam away from the rubber stamp. Be sure to not undercut


Should look something like this!


NOW...you can use your stamp with the clear mount. I am saving my sticker sheet just in case I get printable vinyl and make my own index for this stamp! :)

Stampin' UP! has foam that you can convert your wood mounted stamps to CLEAR mount stamps!!
124236- $10.95- 2 Sheets


Thank you for visiting my blog!All stamps, paper and inks used are © Stampin' Up!®
For more Stampin' Up!® information, go to http://www.stampinup.com/ Order on my Website --> http://www.dianneshiozaki.stampinup.net/ Join My Team! password: faithfulstamper

Thursday, May 19, 2011

3D flowers


I love this stamp set, Fifth Avenue Floral. I think that the elegant lines for these flowers makes it timeless and easy. Most of the time when I use this set, I stamp it in black, and color in the lines....


I mean, don't we all, in pre-school or kindergarten, learn how to color in the lines and to create works of art.....I love to color! BUT...what if you don't like to color???
How can YOU create a work of art without coloring?


The rhinestones are colored in using markers (copics) and I embossed the leaves and the background with the texture folders. Each of the elements add dimension to this card.


TO create this flower. Stamp the flower 4 times (both of them) on DESIGNER PAPER. The blue flower was cut around the lines to form dimension. All 4 layers were placed on top of each other in the appropriate place.


The red flower was cut and I also cut apart some of the petals and then layered 2 together


Voila! try it!


Thank you for visiting my blog!All stamps, paper and inks used are © Stampin' Up!®
For more Stampin' Up!® information, go to www.stampinup.com

Order on my Website --> www.dianneshiozaki.stampinup.net
Join My Team! password: faithfulstamper

Wednesday, September 22, 2010

Sweet Treat Candy Wrappers


TO make this Treat Candy Wrapper, I wanted to show you how to make the window! I punched out a piece of white paper and laid it on the section where I wanted to punch it out. I found that I was having problems punching the hole in the RIGHT PLACE!
Don't ya love it when you have a great idea! This sure made it easier to place the oval in the right place!
I also have clear acetate (window plastic) in the inside of the box, and it shows what you put inside your little treat wrapper! I used candy cane taffy since I couldn't find individually wrapped baggies of candy corn this year (not like in past years!) WHERE are they this year hmmm???


Thank you for visiting my blog!All stamps, paper and inks used are © Stampin' Up!® For more Stampin' Up!® information, go to www.stampinup.comor Order on my Website --> www.dianneshiozaki.stampinup.netJoin My Team! password: faithfulstamperGet a FREE Tote for signing up! Good until supplies last!

Friday, August 27, 2010

Island Oasis Card and FREE Offer!


Island Oasis Designer Paper is full of the colors we think of Summer and Tropical vacations! The stamp set
Tropical party is retiring soon as well as In A Word
I wanted to make a fun card that would be great to send out to someone who is going on vacation or maybe just a card to brighten their day!
To create the 'frame' for the Marvelo{us}, I punched out 2 pieces of Wild Wasabi cardstock and cut them in 1/2 . I saw this tutorial on a blog (and I am sorry, I can't remember who's blog it was).


Assemble as follows, and voila! you've made an instant FRAME for your punch!


LAST Chance to order the Island Oasis Designer Paper!

August 31!

Order your paper today!


Place your order today, for Island Oasis from me, and get this tutorial FREE!

Thank you for visiting my blog!All stamps, paper and inks used are © Stampin' Up!® For more Stampin' Up!® information, go to www.stampinup.com or Order on my Website --> www.dianneshiozaki.stampinup.netJoin My Team! password: faithfulstamper

Thursday, August 12, 2010

Just Believe ....Masking technique


Masking Technique


First, stamp the image. I used markers to color the stamp. Old Olive for the flowers and leaves, and Basic Black for the frame.


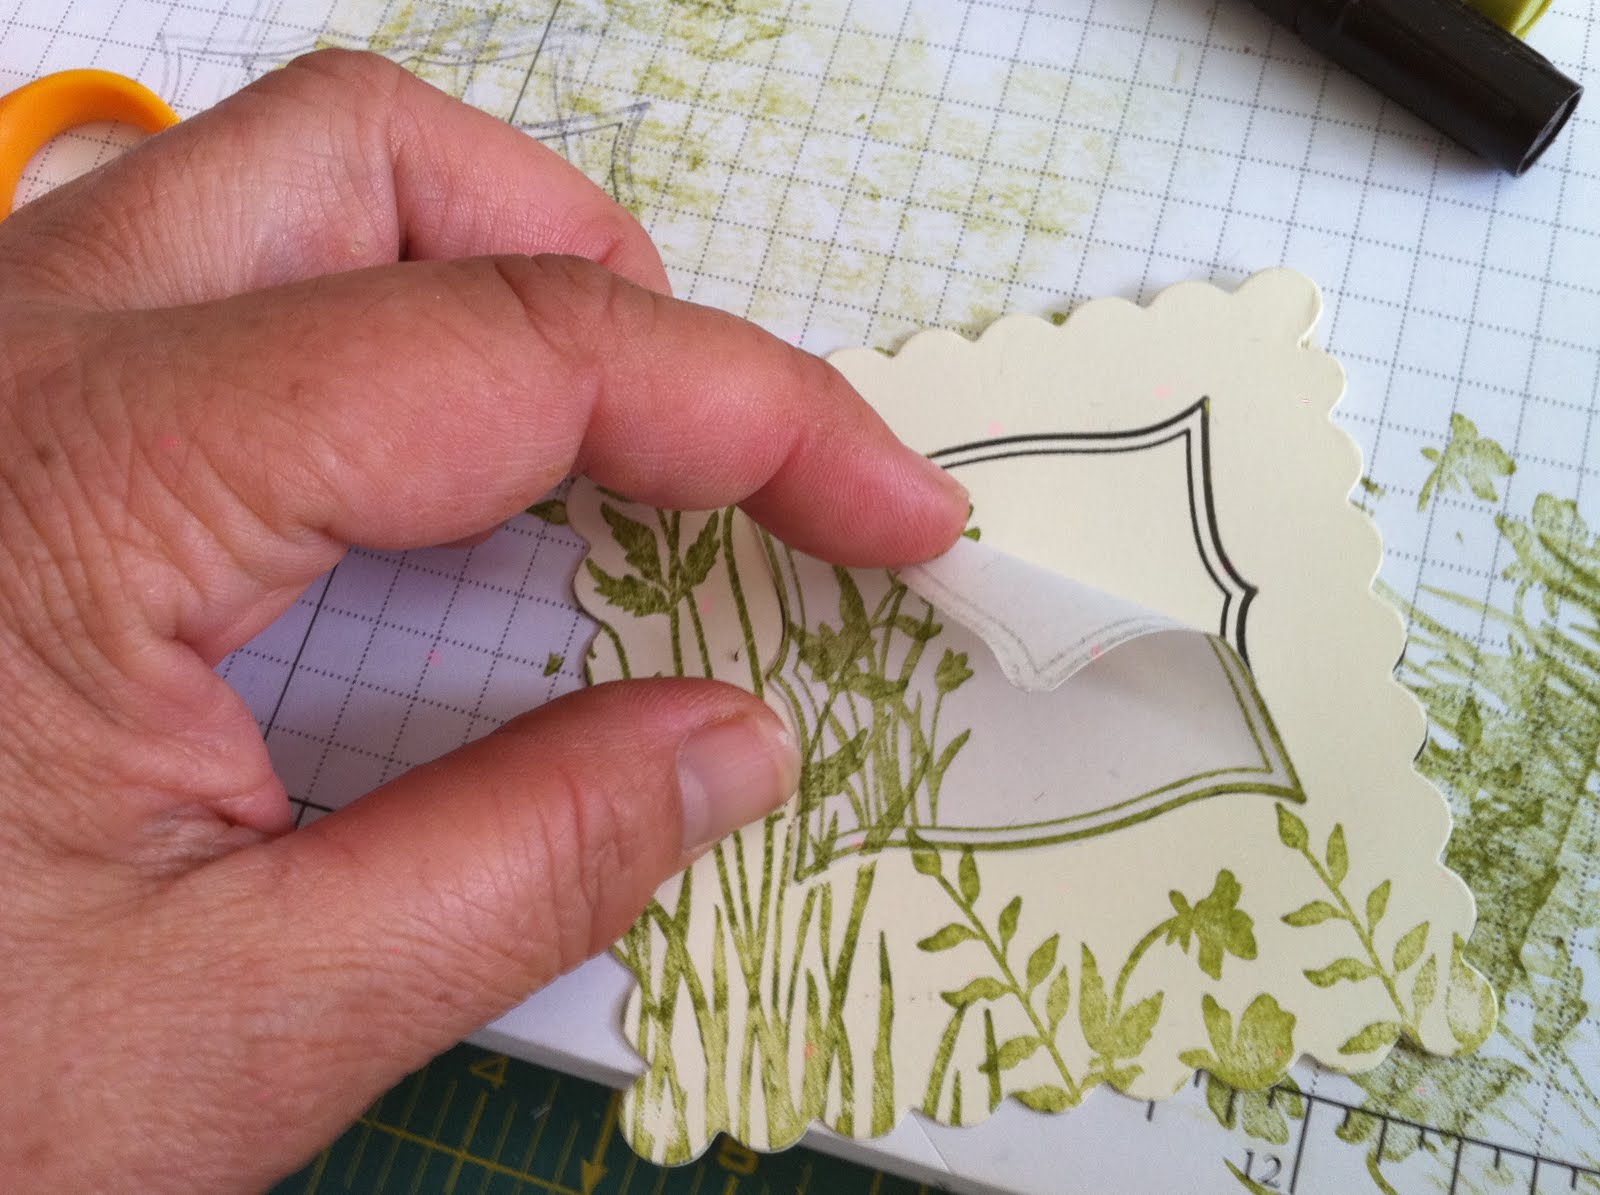
I stamped the same image on a masking sheet (which is like a sticky post-it) I cut out the image and laid it on top of the stamped image.


You then ink up any other stamp, and stamp over the area that is masked as well as next to the masked area.


Lift up the mask and voila!


All done...!!!!


Supplies Used:
Just Believe #120453 $25.95
Old Olive
Basic Black
Very Vanilla
Acetate window sheet
Circle Scissors
Large Scallop die
Scallop Punch
1 3/8 Circle Punch
1 1/4 circle Punch
Extra Large Decorative Label Punch #120907 $16.95 (Holiday Mini Catalog)
Scallop Squares Duo #120903 $21.95 (Holiday Mini Catalog)
Jewels Basic Pearl #119247


Thank you for visiting my blog!All stamps, paper and inks used are © Stampin' Up!® For more Stampin' Up!® information, go to www.stampinup.com or Order on my Website --> www.dianneshiozaki.stampinup.netJoin My Team! password: faithfulstamperStay tuned for specials!

Thursday, July 29, 2010

How to Use Stampin' Up!'s New Punches

I love how compact the new punches are! They are all smaller and take up less room even though they are punching the same size punch as before!! So...you're getting more bang for your buck! I have to sell all my 'old' ones, so I can make room for the new style. They did discontinue a couple of the punches in the new catalog, the slit punch, horizontal slot punch and the smaller star punch (just to name a few)....!!

Be sure to watch the video to get some tips on the new punches!!!

Monday August 2 is my birthday...so STAY TUNED for my Birthday Special coming up! I will post something this weekend!!!


Thank you for visiting my blog!All stamps, paper and inks used are © Stampin' Up!® For more Stampin' Up!® information, go to www.stampinup.com or Order on my Website --> www.dianneshiozaki.stampinup.netJoin My Team! password: faithfulstamperStay tuned for specials!

Monday, May 10, 2010

How to make the Memories to Go Album


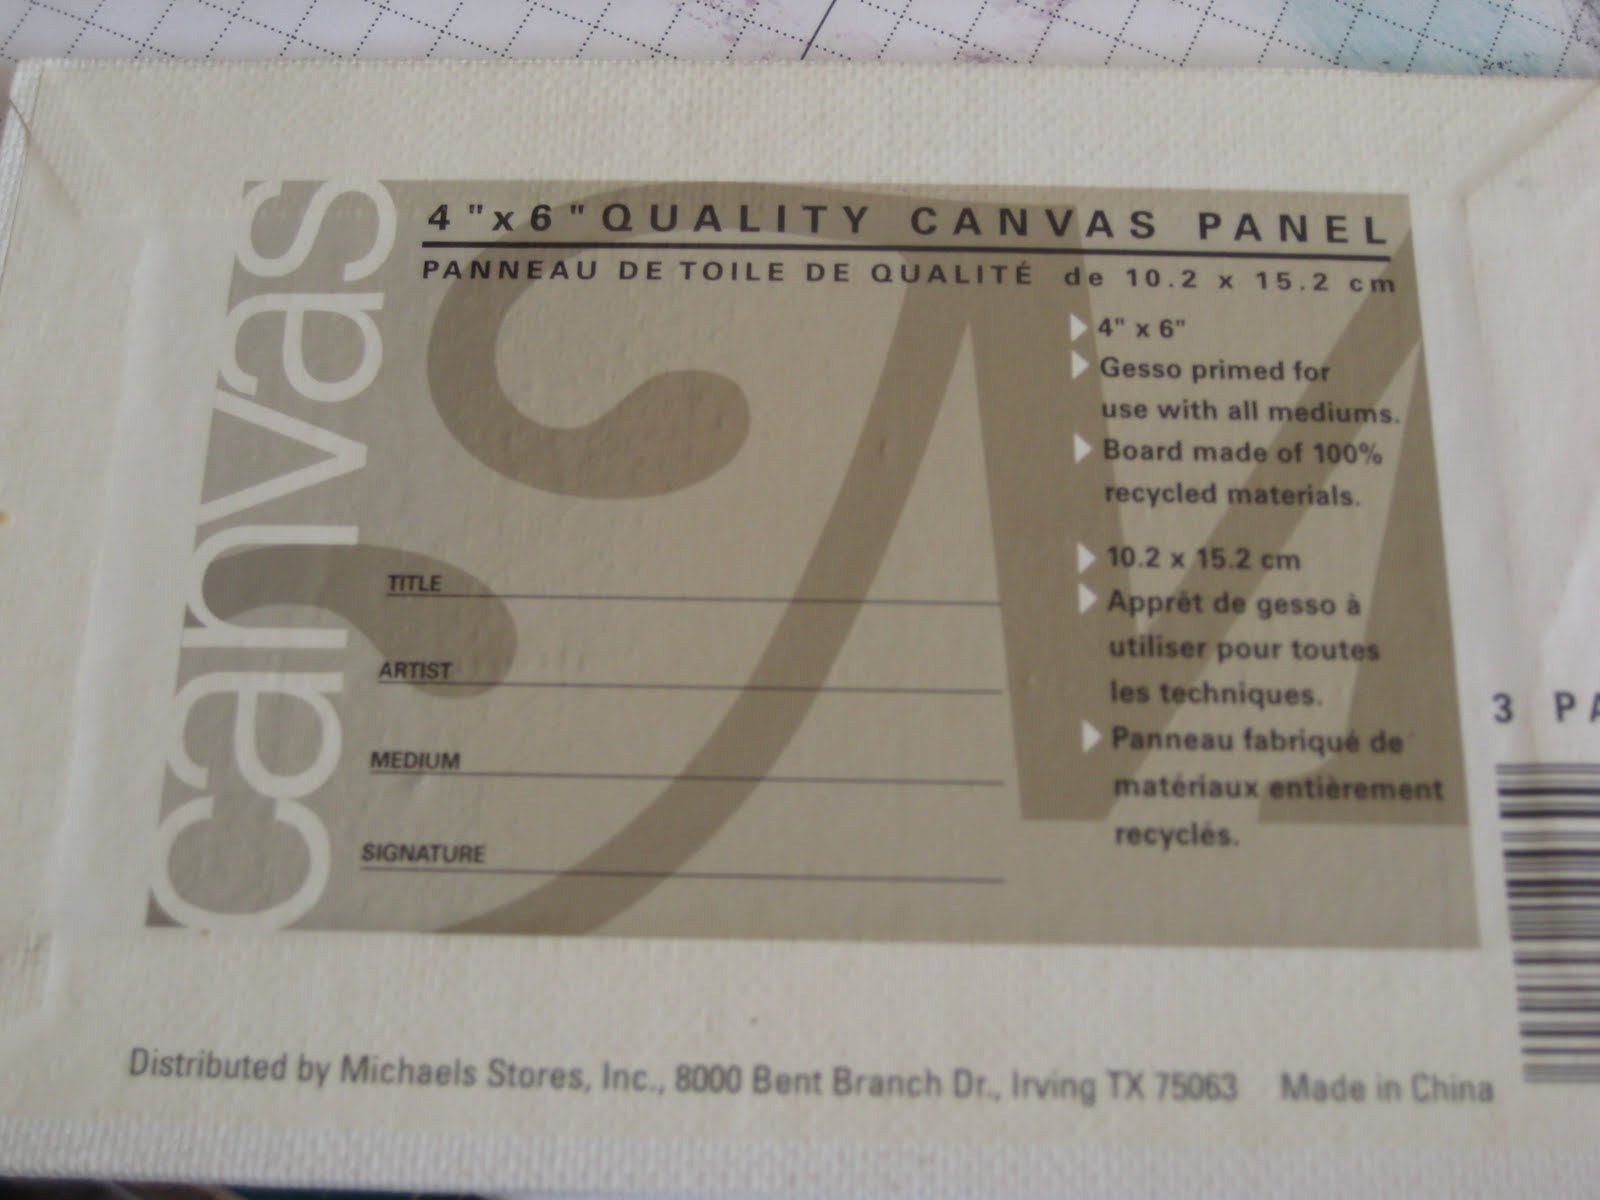
You can get these canvas boards at your local BIG BOX Store. They come in a package of 3


They are pre primed so no need to do any other preparation


(no gesso needed)


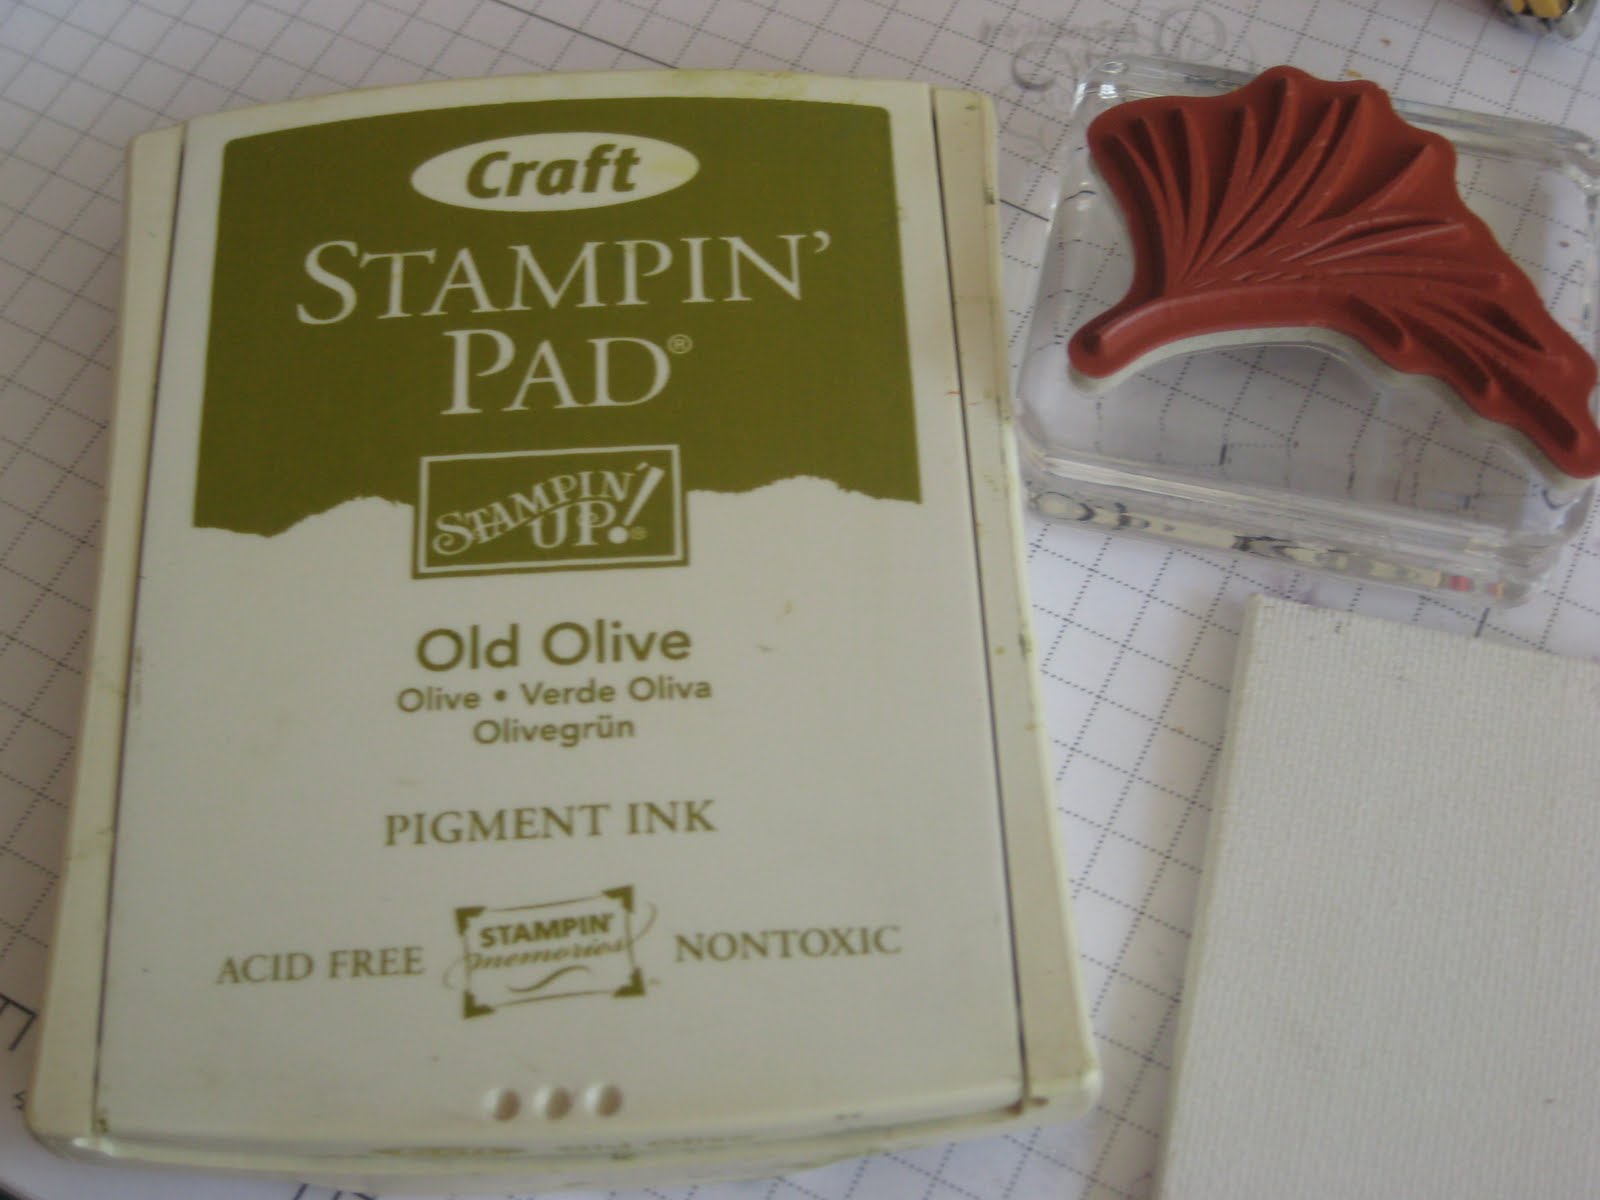
I used craft Ink in Old Olive


Stamped all over the surface! I then sponged Old Olive around the edges


Sponged more around the leaves.


Sponged Garden Green around the edges for more color


Cut 12x12 cardstock
5 7/8" x 12 (2 pieces) You can cut 2 more pieces if you want your accordion book to have more pages.
score at 3 3/4" and 7 1/2"
Attach each page to the next by using Sticky tape to the 3/4" flap that is on the end.

This is a simple accordion album, and maybe it is or isn't to your taste but of course, you can "stylize" it to your tastes!

Hawai'i...we're getting ready to make memories!

Thank you for visiting my blog!
All stamps, paper and inks used are © Stampin' Up!®
For more Stampin' Up!® information, go to www.stampinup.com or
Join My Team! password: faithfulstamperStay tuned for specials!

Monday, May 3, 2010

It's all Black & Vanilla


Ribbon Florettes

I saw this on a blog and just loved the vintage look of it! It is so easy to do, and uses very little sewing! So, I made a quickie tutorial on how to make simple rosettes out of ribbon.


The texture on the cardstock strip was done using the NEW Textured Impressions Square Lattice #119976 I love how pretty the texture design is, and when you sponge color on top of the texture, it enhances the appeal!


Thank you for visiting my blog!

All stamps, paper and inks used are © Stampin' Up!®

For more Stampin' Up!® information, go to www.stampinup.com or


Join My Team! password: faithfulstamperStay tuned for specials!

Pinterest

Follow Me on Pinterest

Stampin Up Bloomin Bouquet

Copyright


All stamps, paper and inks used are © Stampin' Up! ® unless otherwise stated. All images, designs and words are copyright of Dianne Shiozaki, unless otherwise stated.
THIS is my personal blog, and the contents is my sole responsibility as an independent Stampin' Up! demonstrator and the use of and content of the classes, services, personal opinions or products offered on my personal blog is not endorsed by Stampin' Up!
~~~~~~~~~~~~~~~~~~~~~~~~~~~~~~~~~~~~~~~~
Feel free to copy any design for your own personal use, but please do not use my designs to submit work for publication or contests. I give credit to whose work I case, so please do the same. Plus, it is just not nice to take credit when you were not the one to think of the idea!


Daily Bible Verse

Quotes by Dr. Suess